electronics
Replacing the factory Audi Bose stereo with an AUX input or stereo
Missing the factory stereo in your Audi with Bose? Trying to make an aftermarket radio work with the harness? Here is a deep dive into the audio signals of Audi’s Bose sound system.
At the beginning of this year, I acquired a 2007 Audi A4 Quattro 2.0T (B7 body-type). This car was a project that took over 6 months – and I hope to document the complete rebuild in another post!
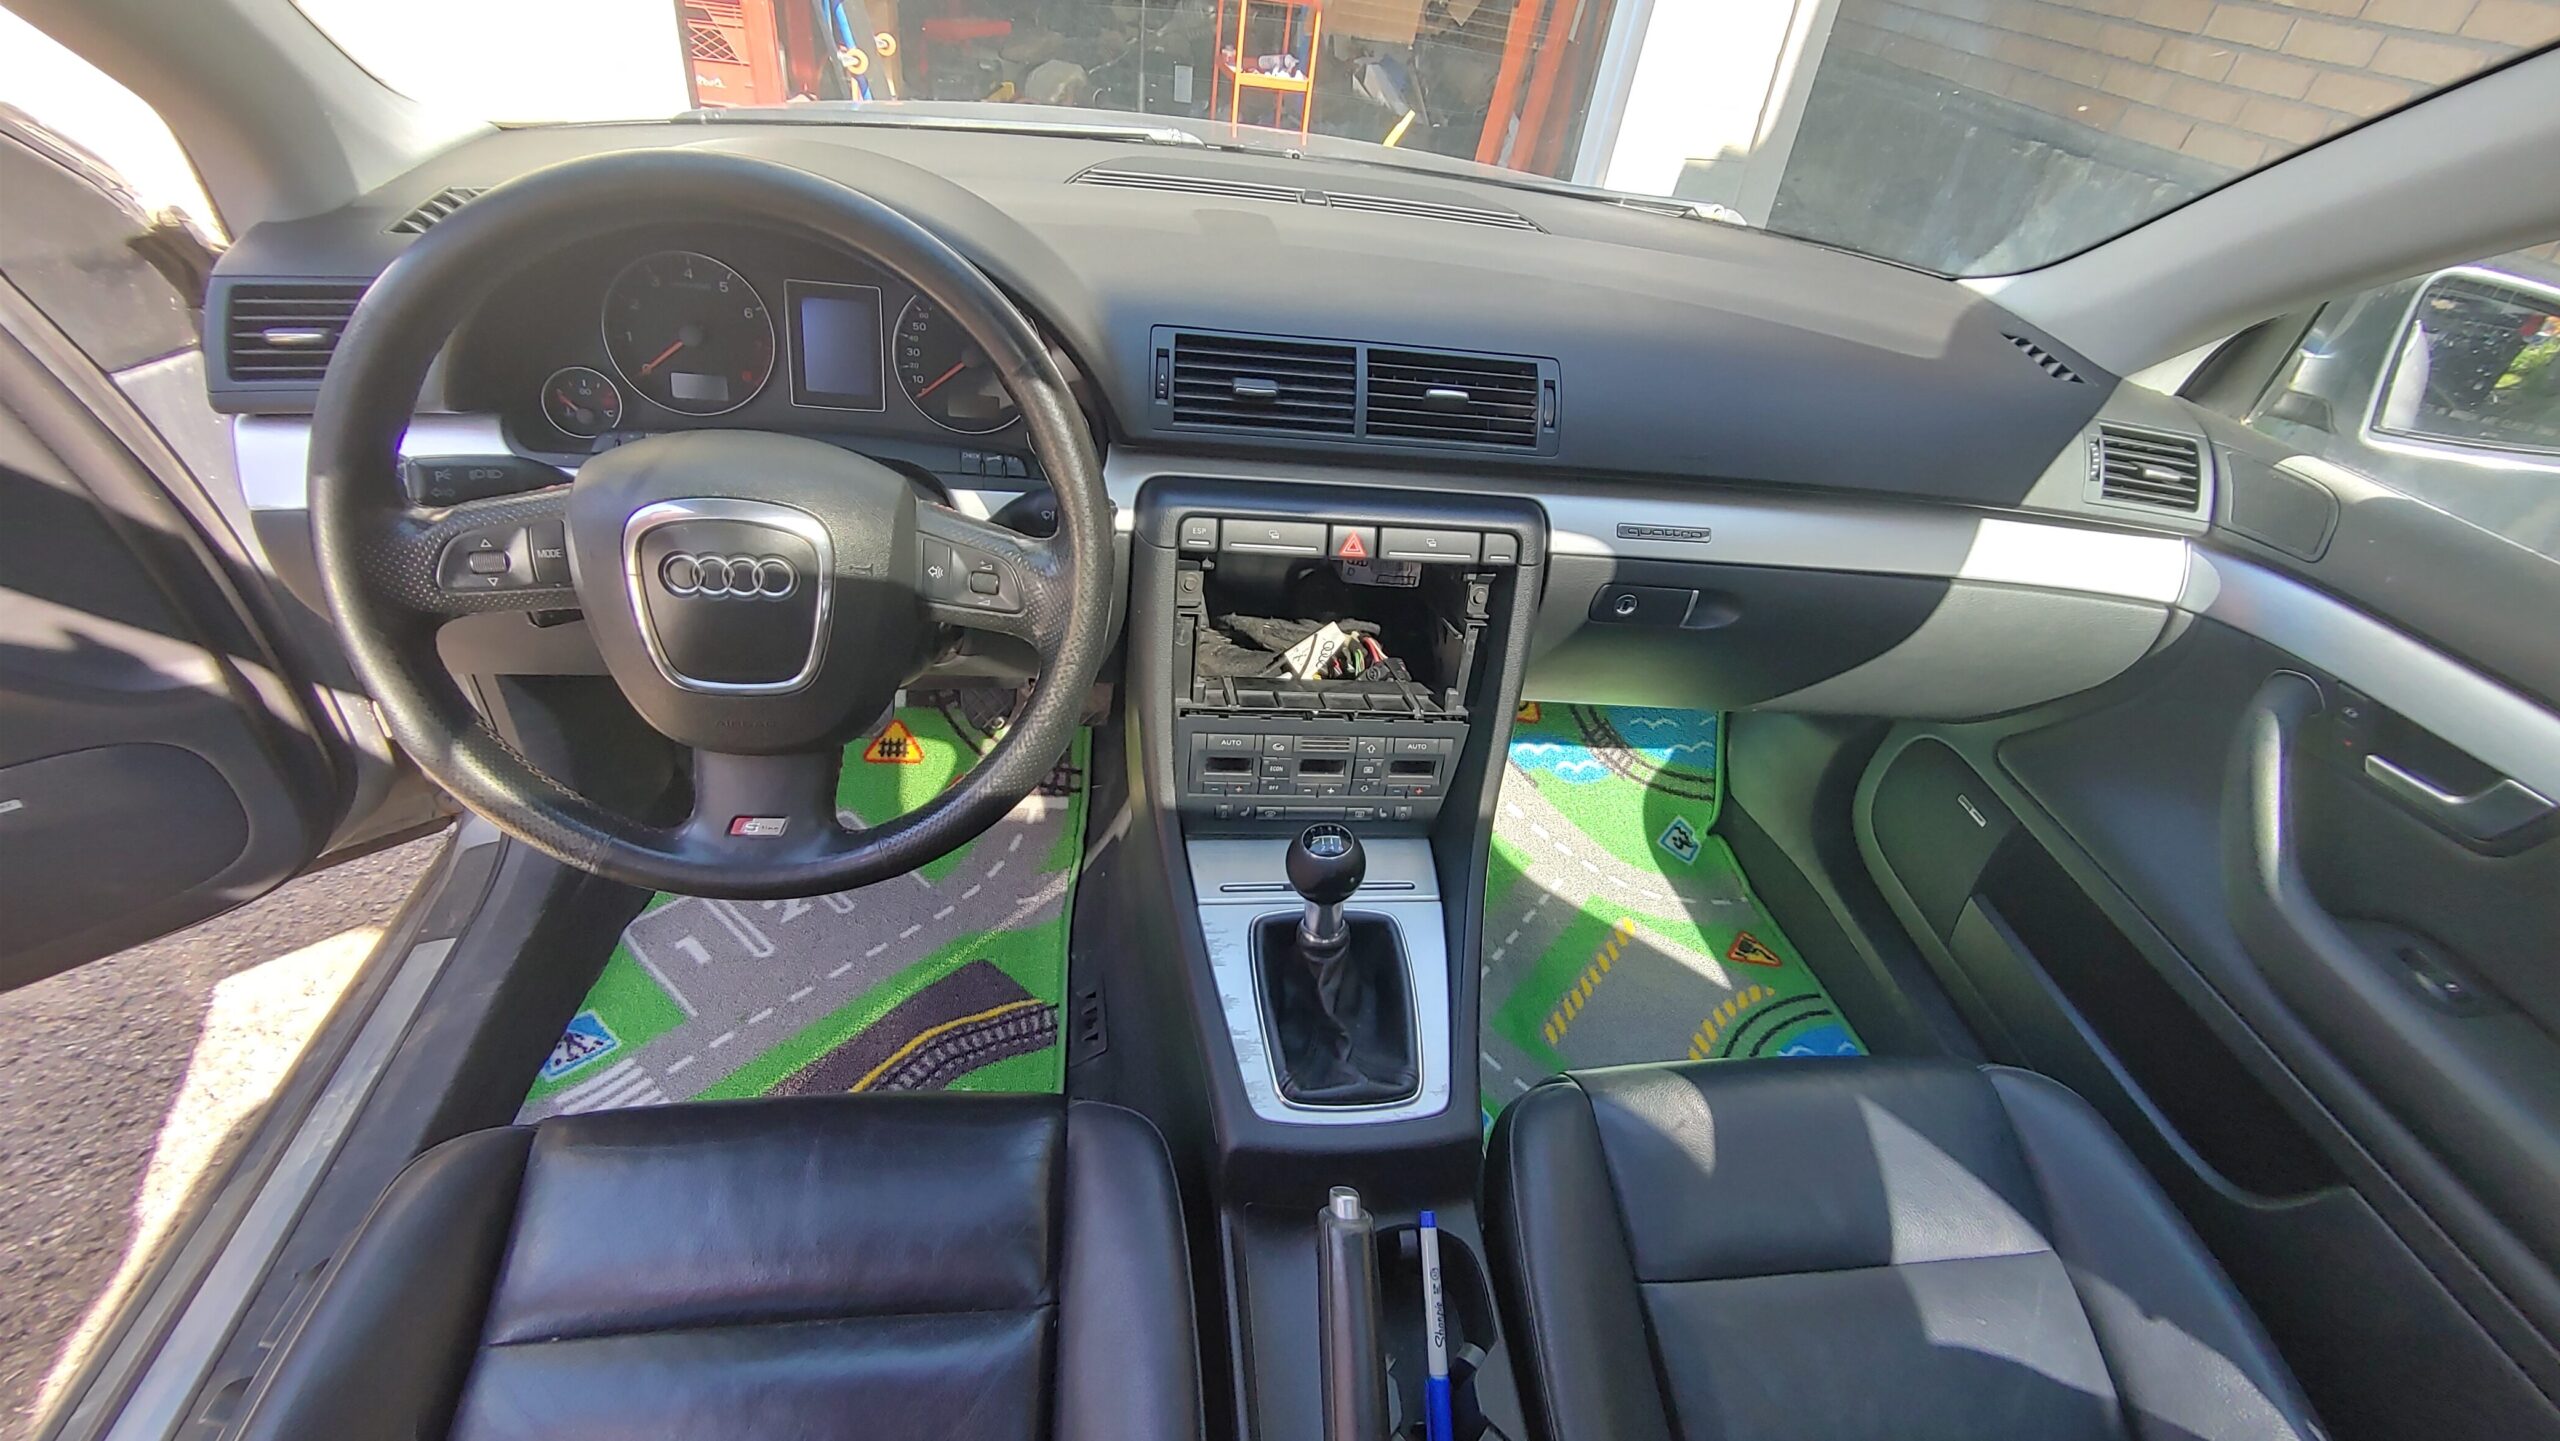
Despite the fact it didn’t run, I was actually more upset that the stereo was missing. Knowing the factory units need to be coded to the car, and that it is hard to find a solid aftermarket harness for these Bose-amplified cars, I wasn’t sure how this would be resolved…
…until today! Read on to learn how to connect an AUX cable directly to the Bose amplifier – WITHOUT modifying any of the car’s wiring!
› Continue readingHow long is 4 years?
Too long to not post anything.
In as few words as possible, let us agree that people accomplish a lot in one year. Simply think back to what you did in 2021, then 2020, then 2019, then 2018… Realize that you have completed dozens of projects, started many dozens more, interacted with countless other people, learned countless new things, and aside from disorganized photos you’ve saved somewhere, a lot of this exists only in your memory.


The purpose of this blog has always been to document my projects so that, when memory fails, I can remember what on Earth I’ve done over the years.
Here is a summary of the last 4.
› Continue readingSTEVE – New chassis, 3D printing, fresh electronics!
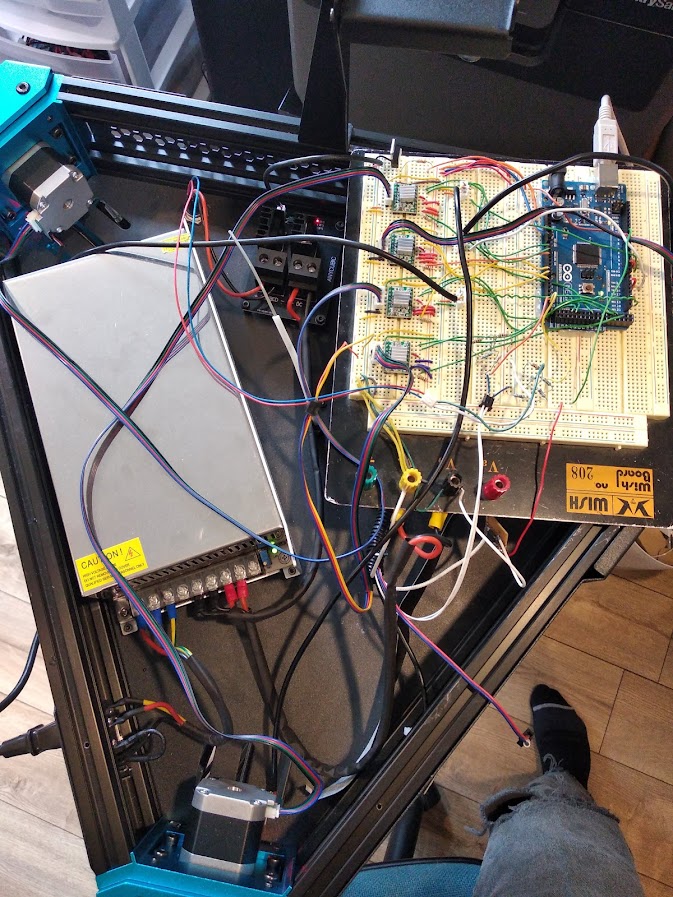
 Plenty has happened since our last post, and most of it can be summarized with the following picture.
Yup, lots of wires. New body, too. With my 3D printer back in service, cases were printed for the electronics, along with new wheels all around. These new wheels add around an inch of ground clearance, and better off-road traction.
As well, the first shipment of new parts has arrived: a USB WiFi adapter, an ultrasonic range sensor, H-Bridge motor controller, 9-DOF IMU and a temperature probe.
There are a lot of really cool developments in this post; let’s dive in.
Meet STEVE
 He may not look like much right now, but STEVE is an evolving project I’ve been wanting to start for quite some time. He is a robot, into which I will combine software, hardware, and mechanical design.
Currently STEVE is an AVR microcontroller and LM298 dual motor driver, strapped to a circa 1985 remote control car. Over the last few days, I began laying the foundation with serial communication, motor control, and power. In the next few weeks, I should receive the first order of parts to give STEVE senses.
Initial Sensors:
- Ultrasonic range sensor
- 9-Degrees-of-freedom Intertial Measurement Unit (with compass)
- DS18B20 Temperature Sensor
- USB WiFi Adapter
- LM298 Motor Driver (a better unit)
Once progress is made with these first parts, I also plan on including these additional sensors:
- GPS
- Servo (to pivot ultrasonic range sensor)
- Current Sensing
- Webcam
This is a great wish list, but without the software to tie it all together, not very useful. Therefore, I’m assigning my Raspberry Pi 2 B+ as STEVE’s brain. My vision is for the Pi to do all the heavy processing such as navigating, making  decisions, and hosting the user interface for mission planning. That way, the AVR is only a hardware controller that manages Input/Output, and communicates bi-directionally with the Pi.

Over the last week the project has evolved very rapidly, and a new body is in the works. My 3D printer has some serious overtime coming up, as I begin designing and printing STEVE’s mechanical components. The ability to print new wheels, mounts, gears and body components is critical to the success of this project, and will also mean I can be very flexible with how everything is implemented.
I have a lot of freedom to do really cool things with this, and I look forward to posting regular updates on STEVE’s progress here!
Denon AVR-1801 – Blinking Red Light Repair
 The other day, my Denon AVR-1801 home theater receiver stopped working. It would power on, reach the point where it normally enabled the speaker outputs, but then it would shut off. The status LED would rapidly blink on and off.
The user manual suggested that the device was overheating, or that the speaker terminals were being shorted. The device was not hot, as it was just turned on. I unplugged all input and output cables, but that didn’t fix it either. Time to dig deeper.
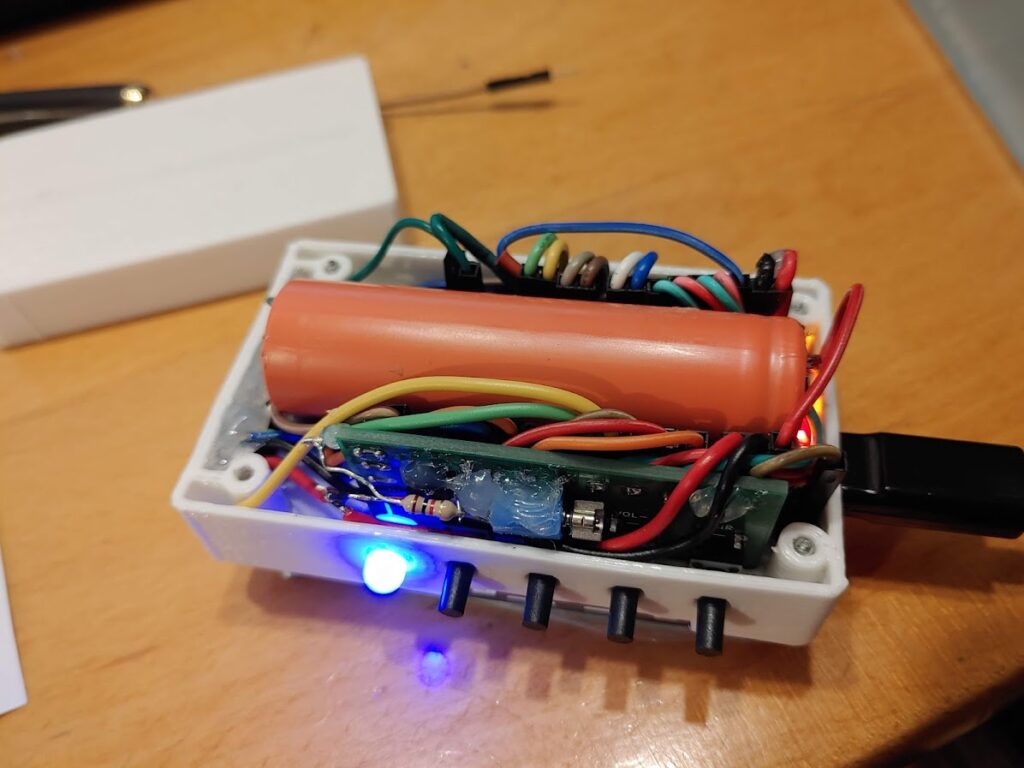
The Problem
A quick Google search revealed the following gem. There are four “surge” resistors in line with the ±15 VDC regulators: R141, 142, 148, 149. These 1 Ohm resistors weaken over time with every power-on surge, and the resistors from the factory were not strong enough. Armed with this knowledge, I opened my receiver to test these resistors.
Seagate Expansion 3TB External HDD – What’s Inside?
The majority of external hard drives are nothing more than a case, a USB-SATA adapter, and a standard 3.5″ or 2.5″ hard drive. Despite having this extra hardware, they sometimes actually cost less than their bare counterparts. Why might this be? External drives usually only carry a 1 year warranty, while the average desktop drive today might get 2 years of coverage.
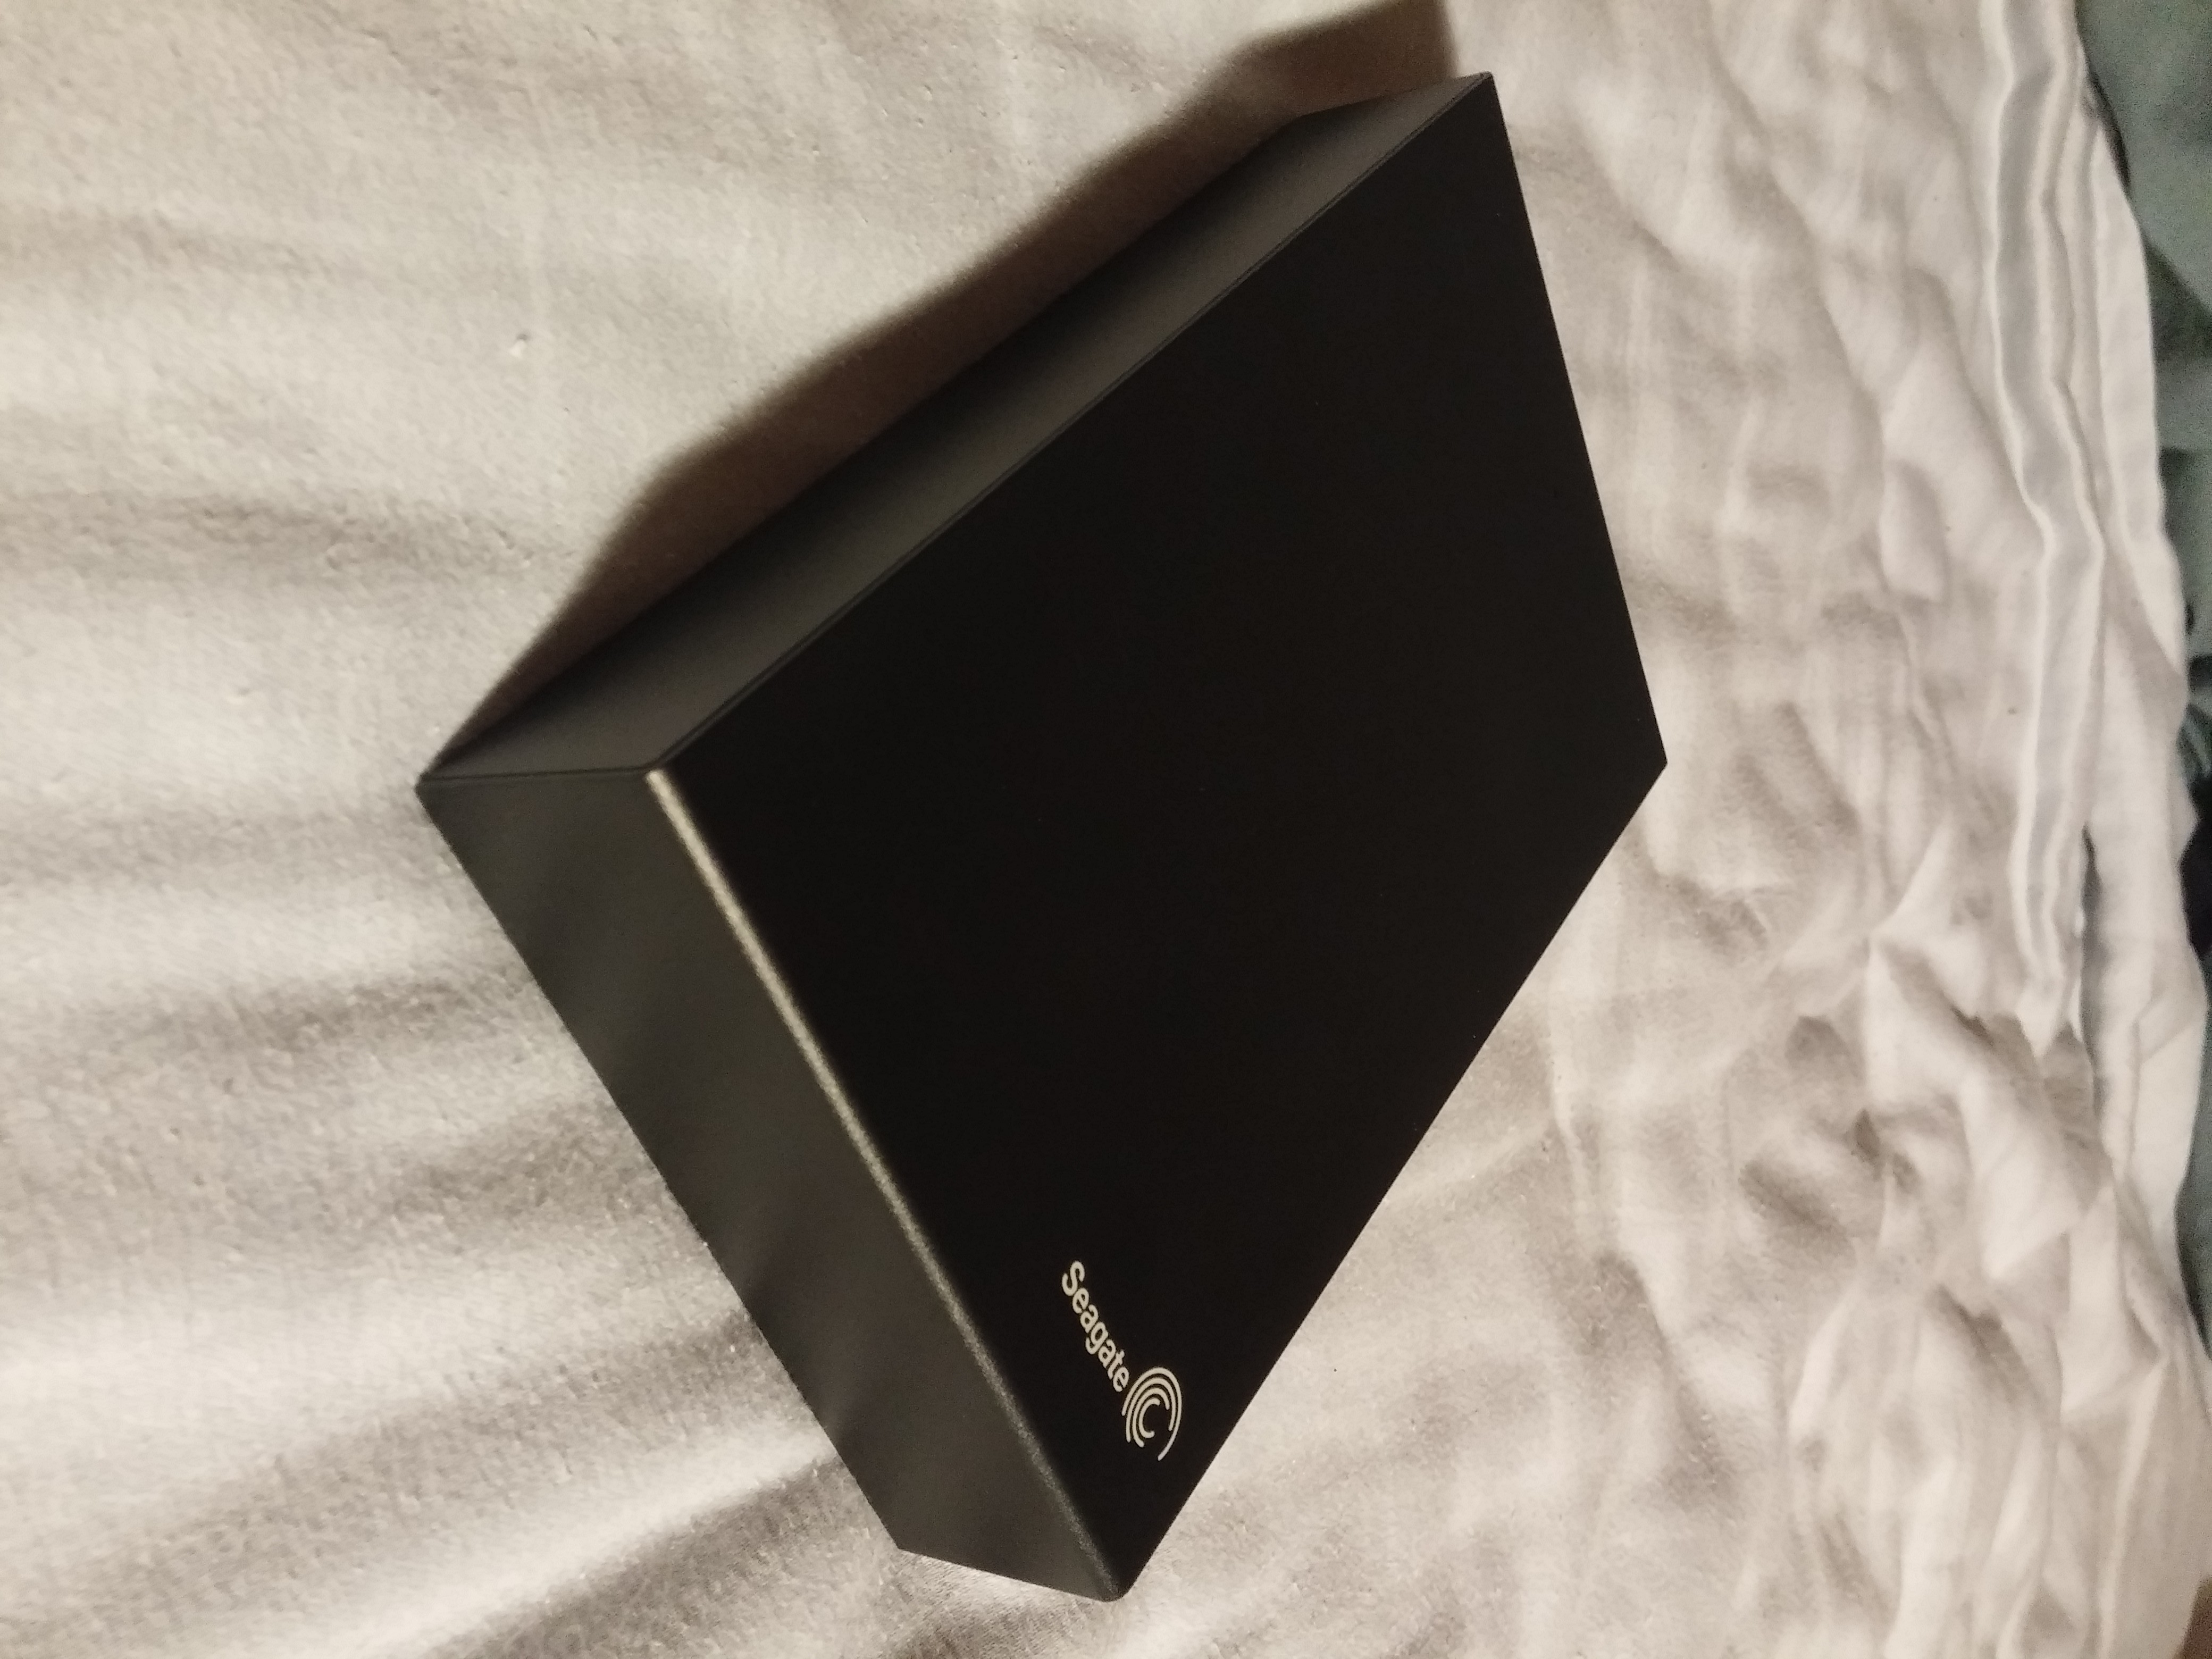

Above is a 3TB Seagate Expansion external hard drive. It has a USB 3.0 interface, and accepts 12VDC for power. I bought this a few years ago for $10 less than a bare 3TB SATA desktop drive.
Western Digital released a line of external hard drives where, when you take it apart, you don’t find a normal drive inside. Instead, the control board is actually a USB interface, not SATA.
Out of curiosity, and because I might put this drive inside my server in the future, I decided to tear it apart to see what I was working with.
Homebrew Stereo Gainclone Amplifier

In 2012, one of my posts were featured on Hackaday, a globally read and frequently updated aggregator of projects that modify, create, and otherwise hack. The traffic this garnered was enough to throw a couple 500 Server errors, but it also resulted in getting the attention of someone at Farnell/Newark.
I was contacted through the comments by a member of the Farnell team, who spent quite some time on my site and was “loving the content”. After further communications, he asked if I would be interested in reviewing products for them. Of course I said yes!
The question was, what would I review? After looking through some of their enormous catalog, I realized I’d rather create something out of the components I reviewed, and discovered the LM3886, a relatively inexpensive 68-watt audio amplifier. This is where the adventure began!
› Continue readingHacking a Laptop Battery – Increase Runtime
Do you have an old laptop whose battery struggles to reach 30 minutes? I used to.
An aftermarket 6-cell pack would have cost me around $40, which isn’t expensive, but the laptop was old (circa 2006) and not worth putting money into. I happened to have a fair number of Lithium-Ion battery cells “lying around”, and decided to upgrade my pack, not just with new cells, but with more cells.

This project was completed about a year ago, and I’m surprised I never posted it before!
Repairing a Projector with Tinted and Washed-Out Display
My employer came to me with a little project. The office projector stopped working properly after someone touched the pins of the VGA video cable, and presumably released ESD energy into the projector. The picture’s colours were all tinted and washed out!
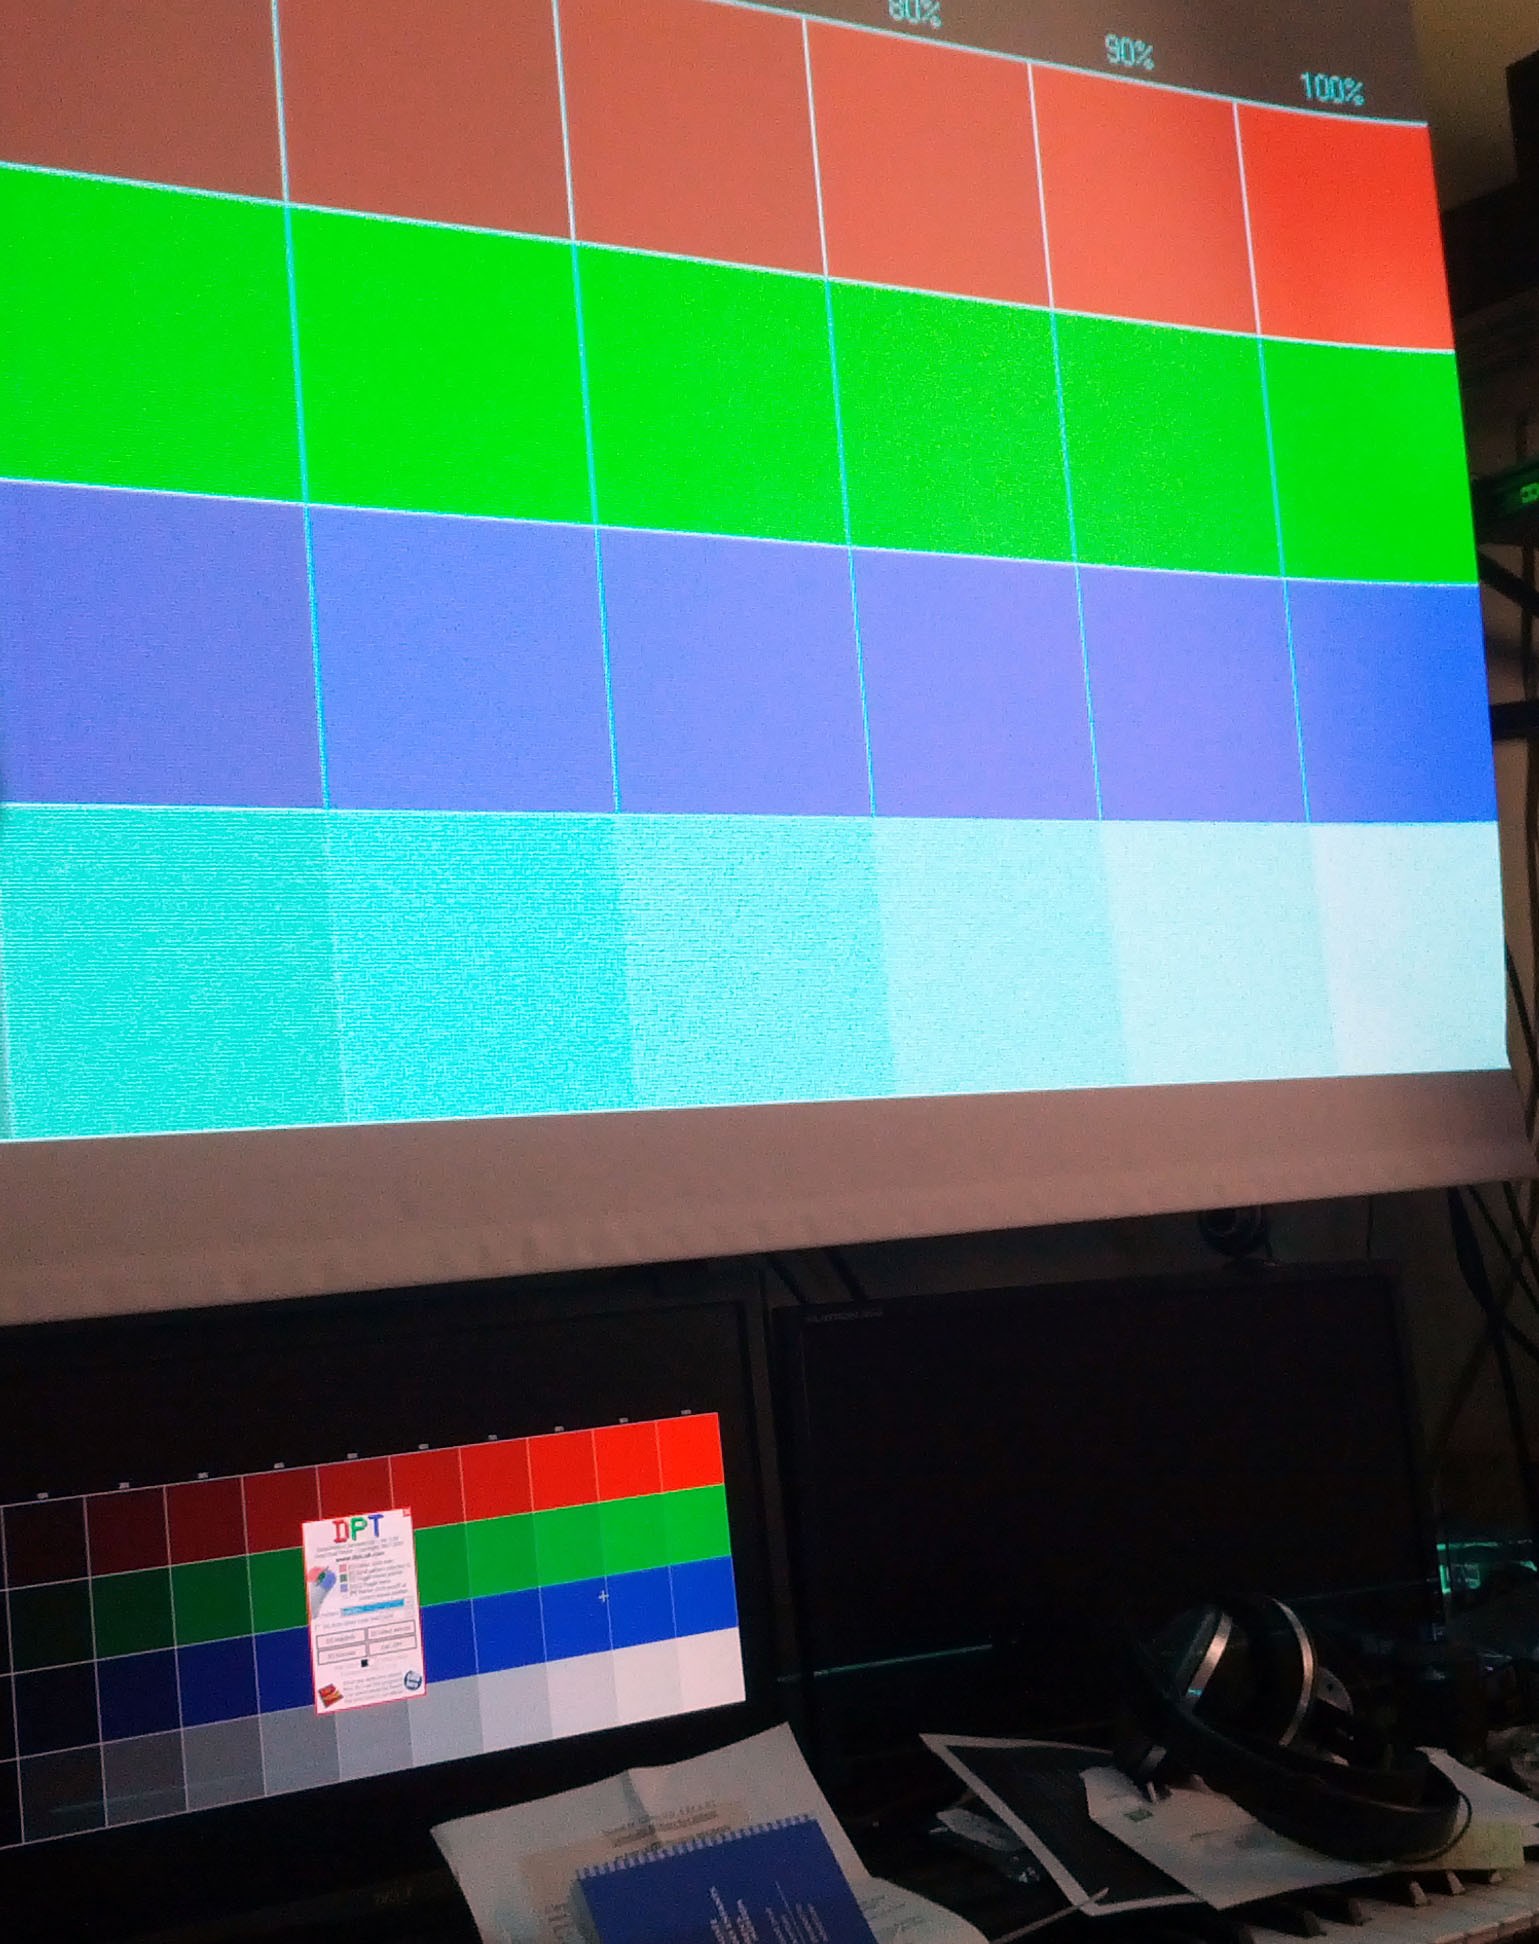
Note that the bottom monitor is displaying the same colour pattern
as the projector. Grey is completely missing!
He asked me if I’d like to take a look at it. My answer, as would be expected, was “of course!”
Adding Magnet Feature to a Bally Centaur
 Bally’s Centaur pinball machine came from the factory with an electromagnet, installed in the top-right corner of the playfield. It would hold the ball in place after it hit the “release” target, which initiates the multi-ball mode.
Unfortunately, as time passed and these electromagnets burnt out, it became more difficult and expensive to find a replacement magnet. Most games no longer have the magnet installed, as it was likely removed to be sold.
On our machine, we had no idea if the magnet was still there, and one day decided to look under the playfield to see if there was one. It turns out there was, but it didn’t work.

After verifying the electrical side was fine, we took out the magnet to find that a screw had gone through the playfield, and through the coil!


The price of a replacement electromagnet is upwards of $100! Thus, we decided we would remove the old coil wire and wrap our own. After all, how hard could it be?