Painting my Escort (Part 2) – Body Work
So yesterday, Monday, the 24th of May, me and my dad began the body work on the Escort. The process went a little something like this:
- Grind the paint off around areas that bubble and are cracked.
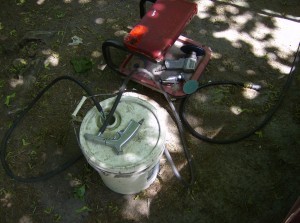
- Sandblast the areas that have rust on them, then around the areas to be patched.
- Put fiberglass body filler around all the areas and in the holes.
- Grind down a bit.
- Use Bondo over top of the fiberglass to give it a smooth finish.
Yesterday, my dad let me do a lot of the work to get used to the tools and process, so naturally, being my first time operating any of these power tools, I didn’t do a godly job. However, I certainly didn’t do too bad!

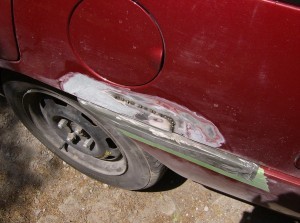
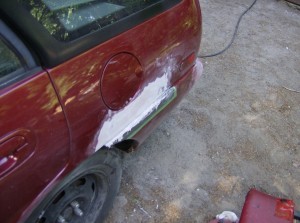
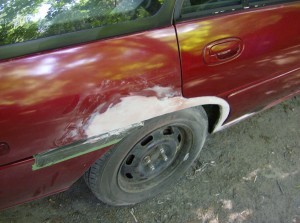
This is as finished as we got the back right fender yesterday.
We still have a few more things to do today, and here’s to hoping the forecast of thunder showers doesn’t come until way later in the day! Left to do, we have:
- Final, smooth layer of Bondo (my dad will do this, hehe).
- Sand down all the edges of body work, then sand down all the rocker panels.
- Mask the edges and spray Rocker Guard along the rockers and wheel wells.
At that point, once that’s done, I’ll park the car in my garage (which I did last night, to discover there is plenty of room), and begin all the sanding and de-greasing. My dad gave me a good idea, to use engine cleaner (petroleum based) and a rag to clean the grease out of the door frames and other areas.
Reconsiderations…
While working on it yesterday, it occured to me that changing colours will really be a lot harder than sticking with red. The goal of this repair was to be simple, and easy enough to repair future rust and damage, and this is why I’m using Tremclad. Cheap, and easy to just paint over a scrape. However, Tremclad Red is not really my favorite colour. It’s not bad, but it seems to be kind of flat, instead of vibrant. I’ve got a bit of time to decide.
Progression
Here is the progression yesterday. I didn’t take any pictures before or during the grinding, because my hands were full (hehe). But, I have shots of after:
Back left fender
Back right fender
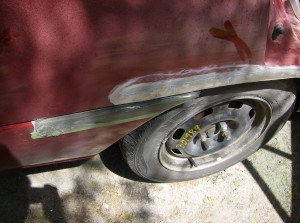
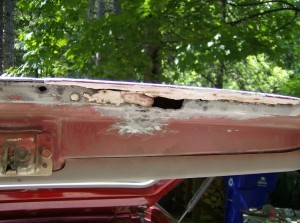
After grinding (notice the previous repair)
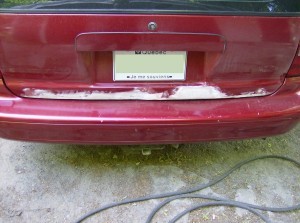
Hatchback
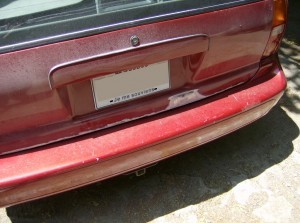
Also, if you remember from the last post, the back left of the bumper had a piece that cracked off it. Well, this has been repaired pretty well:

My dad took the grinder to it, melted the plastic cracks together, then grabbed some 3M hardening rubber mixture and pasted that over top. Then, he sanded it down to make it more even. Looks good!
Yep, there was lots of hard work that day, and the 29*C weather, in coveralls, with goggles, face mask, and full head gear at times, under the sun, was insane! But, I enjoyed it! The next few weeks will also be busy like this. Stay tuned!


Ahh! I would be so scared to sandblast my car! Did you do it with a silicon type of grit? Anyway, kudos to you. I probably would have gone and hired someone else to do if for me.
I’m not sure what kind of grit was used – whatever we had available. The car was not worth hiring someone to do it. I just wanted to slow down surface rusting, but in the end structural rust is what ended this car.