Problems Connecting to WireGuard VPN using Ubuntu 24 Client
I… can’t believe I have to write this post. In fact, I also can’t believe it took me to so long to get working. Generally, I wouldn’t consider myself stupid but today I have to wonder.
WireGuard is one of many protocols for VPN tunnels, and I’ve been using it for the past few years. That’s not to say it is the first VPN server I’ve worked with, oh no – there is a list:
- PPTP/MS CHAP on DD-WRT (ew)
- L2TP/IPsec with SoftEther/pfSense
- SSLVPN with WatchGuard
- OpenVPN with SoftEther/pfSense/OPNsense
- WireGuard with OPNsense
While not a VPN newb, the experience using WireGuard seems variable on different platforms. The Windows WireGuard client is excellent. The Android client is even better, with the QR code automatic configuration.
So why am I having problems now? Well, recently I decided that fighting M$ is no longer worth it. After many failed attempts over the years, I’ve finally converted all my servers and daily-driver PCs to run some variant of Linux (👏 slow clap).
With Ubuntu on my PC, I got to work configuring the system the way I need – which includes setting up my WireGuard VPN connection. This is where the rabbit hole began, and is why this write-up exists.
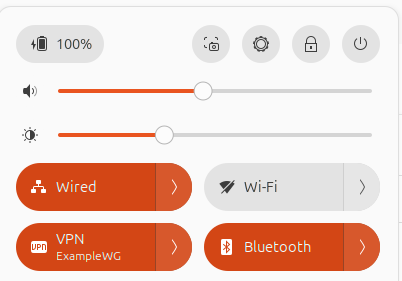
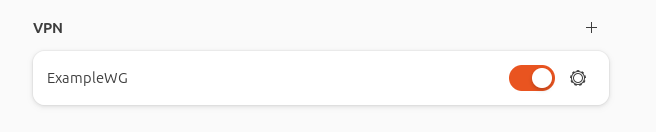
Once it was configured and added, toggling on the VPN connection seemed to work, but no traffic flowed. Also, the server did not show the connection. Why are things always harder on Linux.
The Problem

Let’s not beat around the bush, the VPN configuration section under GNOME Settings has some flaws and bugs.
- If you switch windows from the Peer settings modal, for example to copy the Public Key from your browser, the modal goes away and doesn’t save what you just entered.
- If you change the MTU or fwmark back to 0, GNOME Settings just crashes.
Working around the annoying copy-paste process for the Public Key, adding the WireGuard configuration wasn’t the problem. It was actually connecting afterwards.
LMGTFY
You know I searched. There are tons of guides that make it seem easy. And none of them hit the nail on the head for this issue (though that last one was where I had a eureka moment).
The logical search term “can’t connect ubuntu wireguard client” did not find the answer – so I’m writing this article hoping you searched for the same thing and it solves your problem.
TL;DR
Here is the solution that worked in my case.
You may need to modify some things to suit your desired configuration. In my environment, I want the following:
- All traffic through VPN.
- DNS through VPN/firewall.
- No IPv6.
How to Configure WireGuard Client on Ubuntu 24
- In OPNsense, go to the WireGuard Peer Generator.
- Fill in everything as needed for your new Ubuntu client.
- On the Ubuntu PC, open Settings -> Network and click “+” under VPN.
- Select WireGuard.
- Configure as follows:
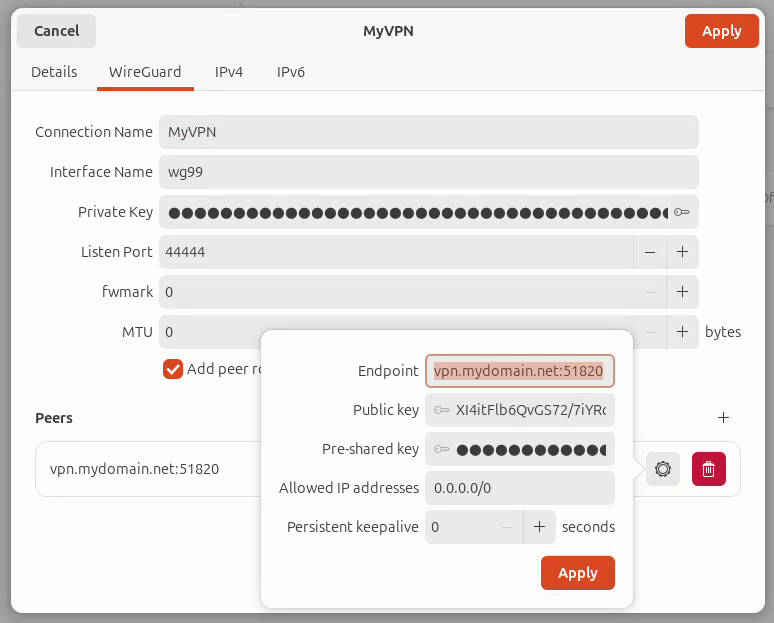
WireGuard tab
- Enter Connection Name (ex. MyVPN).
- Enter Interface Name (ex. wg0).
- Copy and paste Private Key from Peer Generator.
- Enter Listen Port (ex. 44444, anything but the port used by your server which is default 51820).
- Copy the server’s Public Key from the [Peer] section of Config in the Peer Generator (important to do now).
- Click “+” under Peers
- Endpoint address: manually type it with port (ex. yourdomain.tld:port).
- Public key: paste the server’s public key you previously copied.
- Pre-shared key: if you have one, leave alone for now.
- Allowed IPs addresses: 0.0.0.0/0
- Click Apply.
- If you have a Preshared Key:
- Copy it from Peer Generator.
- Edit the newly created peer.
- Paste it in the field.
- Click Apply.
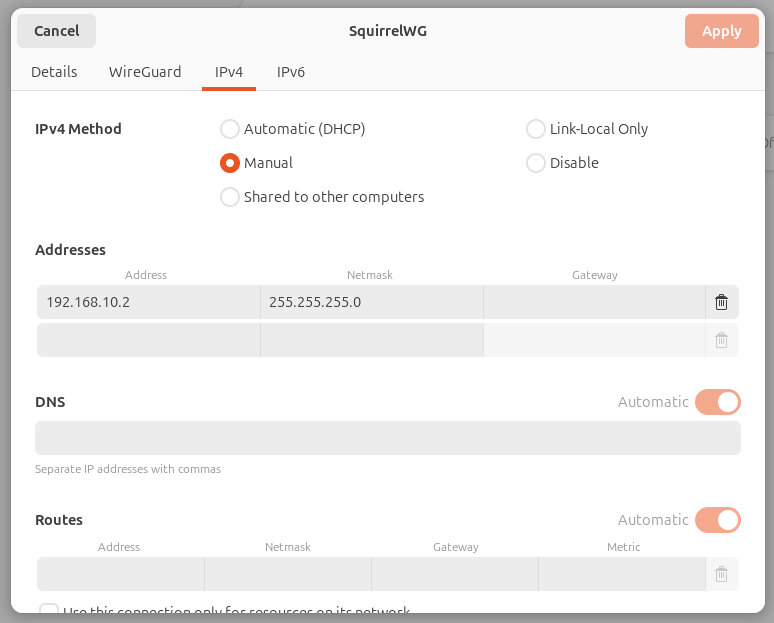
IPv4 tab
- IPv4 Method: Manual
- Addresses:
- Address: <static IP assigned to client>
- Network: <network mask (i.e. /24 and not /32)>
- Gateway: <blank>
- DNS: <blank>
- Routes: <blank>
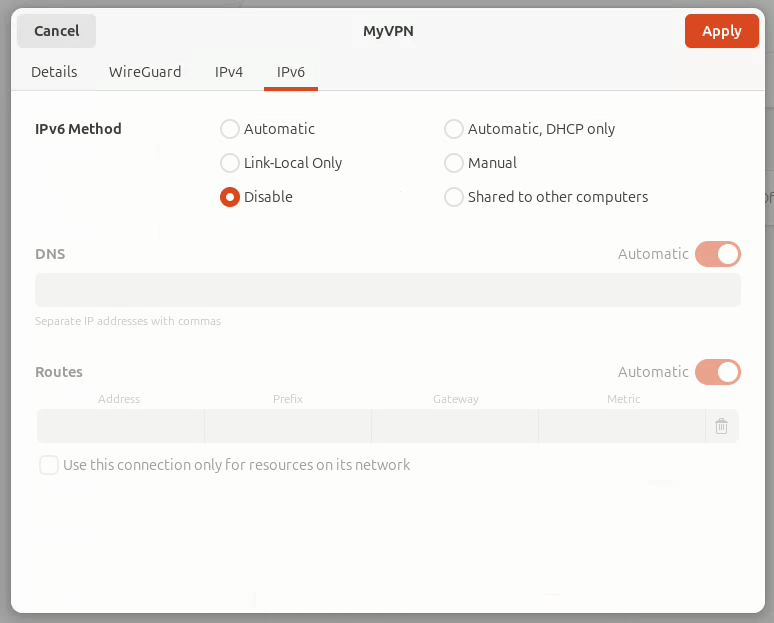
IPv6 tab
- Disable (in my case)
Final Steps
- Click Add/Apply to add the VPN connection on the Ubuntu client.
- Go back to the Peer Generator in OPNsense, Store the configuration, then click Apply.
- Connect to the VPN! 🎉

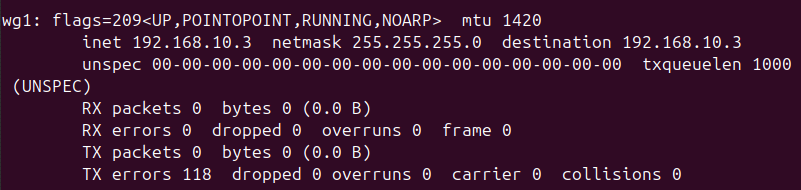
The trick is in the IPv4 tab. Most of the guides instruct you to fill in the the Interface address as <IP>/32 as defined in the Peer Configuration, but I believe this prevents Ubuntu from reaching the default gateway. The subnet mask should match the VPN client network subnet (usually /24).
As for Gateway, DNS, and routes, it seems these are automatically determined. When I manually specified these it would generally cause the VPN to not connect anymore. Yay.
Other Methods
There was one method which did work proposed by [ArtSchoolRejectedMe] on Reddit.
- Install WireGuard (sudo apt install wireguard).
- Copy the config file from Peer Generator.
- On the Ubuntu client, create the config file:
- “sudo nano /etc/wireguard/wg0.conf”
- Paste the configuration.
- Ctrl-X to save.
- Type Y to confirm and press Enter.
- Start VPN using “sudo wg-quick up wg0”.
- Stop VPN using “sudo wg-quick down wg0”.
This worked, and didn’t use GNOME Settings. But it also didn’t make the VPN appear in the VPN list, which means keeping the terminal handy to connect/disconnect.
2025, the year of the Linux desktop?
For me, it very well may be!

It is time consuming chasing crap like this, no question. What simply works on Windows cannot be taken for granted on Linux, even in 2025. Which is wild, given most of these awesome FOSS projects are built in Linux to begin with.
I don’t understand it, but I am thankful for it. Without such hard working believers in FOSS, the world would be an even more vendor-locked and subscription-heavy place.
It could be worse, is what I’m saying. It could be Windows 10 11 365.
Thank you for your article, it saved me hours of further troubleshooting. In my case everything was set up correctly as in your example (imported my profile which works fine Windows), except the gateway address which was set to 0.0.0.0. After removing it, everything works again.
Happy I could help! I also spent hours haha