LCD Monitor
Well, I recently acquired a couple of defective electronics. One of them was an LCD monitor that has a broken backlight. This kind of problem is usually caused by either a burnt bulb or a defective inverter, but regardless, it is a cause that calls upon some sort of make-ing (not spelled wrong).
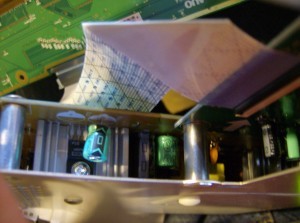
Naturally, the first thing I did when I got it was tear it down, to get to the circuitry. I had remembered reading somewhere, likely Hackaday, that with one particular model of screen there was a problem with capacitors frequently overheating and drying out. I figured this would be a good place to start, though I remembered the issue with the capacitors caused a no power scenario, not a dead backlight. Regardless, I tore it open to find all the caps appeared in normal, working condition. (Funny thing, when I googled that article again, I discovered that it was actually for this exact model of screen. What a coincidence!)
I got the idea to try to use my camera flash assembly, which puts out 300v, to try and power one of the bulbs. Normally these bulbs use around/over 1000V, so my assembly was nowhere near powerful enough, so that didn’t tell me if the bulbs were dead. Then, my mom suggested to me, since I had tons of laptops with working screens, dead mobos, to try and use the bulbs from those screens. I plugged them in, and no light, on any of the two screens I tried! This tells me the inverter is to blame. Since it is part of the motherboard of the screen, it would require component replacement, and right now I’m not sure which component(s) are defective.
So, I decided, why not hack it: make my own backlight! I’ve read about this being done before on a laptop (on Hackaday, of course). He had a very old laptop, and the backlight CCFL tubes were dying. He decided to make himself an LED backlight, and though his backlight had a somewhat uneven lighting, it worked! So, I decided to dig deeper into the rabbit hole: I took apart the actual screen assembly.
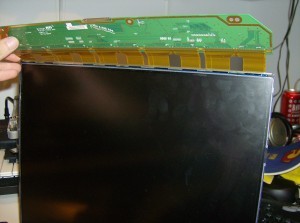
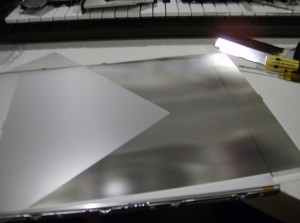
I discovered it was a bunch of layers: first the LCD panel, then three sheets (two that I believe polarize the lights, and one that diffuses it, to give an even lighting), then a half-inch thick pane of acrylic, that has many bumps on the bottom that I believe guide the light coming from the sides upwards, then finally a white backing behind the piece of acrylic, to reflect and contain the light. My first thought: cool :D.
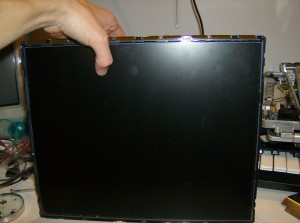
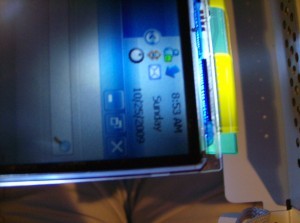
I got this idea: I’ve always wanted a transparent LCD monitor, one that you could see through to the other side, while being able to still use the screen as a screen. When I had it all hooked up with just the LCD panel, I did just that:
Now I’ve got three possibilities on how to proceed with fixing the screen:
- I can try to fix the inverter circuit, and reassemble the whole thing back into a normal monitor.
- I can build my own backlight, using approximately 10 bright-white LEDs per strip (one on top, one on bottom), and either reassemble it normally, or make my own funky frame for it.
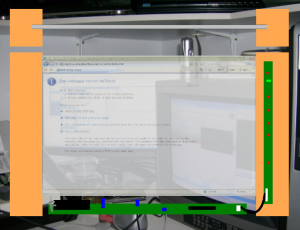
- Make a frame for it (wood with a groove), slide in the LCD panel, hide the circuitry below it or in a box, maybe, and have no backing on the panel, keep it awesome and transparent!
I like number 3. Here’s what it might look like:
Ok, terrible mockup, but you get the idea. The circuit on the bottom if the monitor’s motherboard, while the circuit board on the right side, going vertical, is the button strip. Actually, after making this mockup, I think I might build that one! My next post should be about the second electronic device I acquired, however I may also post pictures of my new workshop in between. Here’s a hint: the second device is in the pictures of the workshop.
