Painting the Escort (Part 7) – Done!
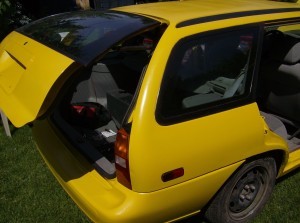
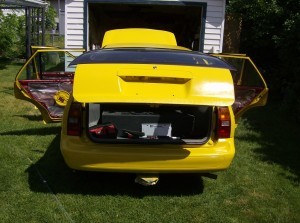
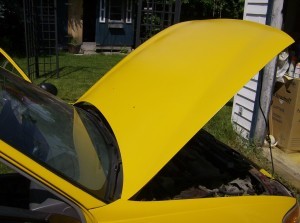
More or less. Basically, this project was undertaken so that I would learn how to paint a car. I learnt, among other things, that there is a lot of time needed for a project like this, lots of preparation, and there are plenty of opportunities for things to go wrong. Come and see my car in person, and you will probably notice a few issues: drips here, peeling there, un-even coat, see the primer through the paint, etc..
But, the truth is, that doesn’t really bother me! I’m proud of all the work I’ve put in. It has taken me a week and a half, and about $280 in materials, and for that price, I’m happy. And the car looks happy, too.
Now it won’t rust as much, it’s more protected against gravel and road debris, and it looks good! The key really is patience (and perhaps having LOTS of paint). For example:
- Spots that are still sort of green-coloured (areas that primer shows through) can be easily fixed by putting on another two or so coats of paint. But, the problem with that is time (for drying) – I want to get the car back on the road. As well, it takes a lot of paint to do a coat, and it comes down to about $25 per coat. As long as the car is protected, I’m happy.
- Sections with drips: easy enough to fix: let it dry well (so over 24-36 hours). Then, sand it properly and repaint it. The major areas of dripping is where the sheet covering the wall decided to stick to the side of the car during the night, and it ruined some of the door. Oh well. Fixable, but would take a lot of time.
- Peeling, scratches: let it dry, sand, paint. However, it would likely involve masking some areas again, and laziness steps in at this point. I could fix them, but they are usually hidden and don’t cause any problems.

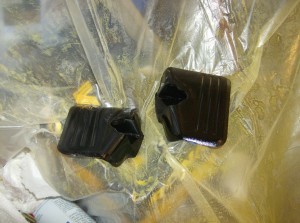
The stock trim looks good beside yellow.
Since I took apart a good amount of the car, I took advantage of this in order to clean and repaint the trim:
I also installed the interior LED lighting!

The eBay store said it was from Hong Kong, yet the shipping package said China… Hmm.
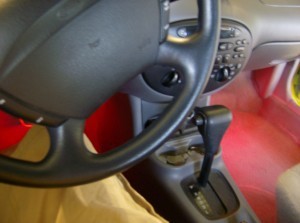
It looks exactly like I expected.
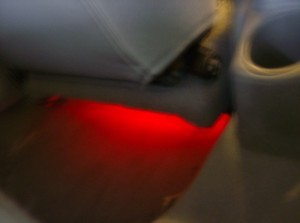
Under the front seats to light up the back as well.
The lights do get somewhat warm, warmer than I’d expect from LEDs (probably the resistors). As well, one of the strips has a bad connection, and three of the lights in the strip flicker, which is kind of annoying, and it only happen sporadically. Unfortunately, I installed this one in the driver’s area. But, it’s not that noticeable when you’re looking at the road, as the wheel kind of covers it.
And there you have it. The most epic looking Ford Escort Wagon, in the world. I’m not quite done: I will be painting the “Escort LX” and “2.0 SPI” onto it when it dries more, and I will be sticking the Ford badge back on, as well as installing the underglow LEDs (if and when I get them in the mail…). I may have a mini post later on about that. But, for now, enjoy the pictures, and if you have an old car that you don’t really care about the appearance, but want to help stop it from rusting, painting it yourself is one way to do it!

