USB Stick Data Recovery
It isn’t the first time, and it probably won’t be the last. Today I had a client e-mail me in some panic, as her USB memory drive had stopped working. It was plugged into the computer, and someone walked into it, bending the connector.
Breaking the 64MB, chinese-made promotional USB key was not the disaster – it was losing the files on it.
I’ve had luck before re-soldering damaged USB key connectors, so I got my tools together and gave it a shot.
The Plan
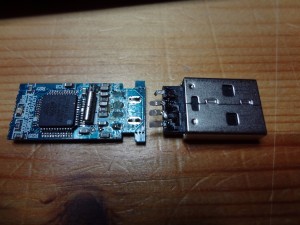
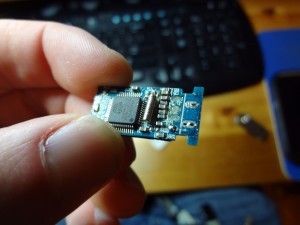
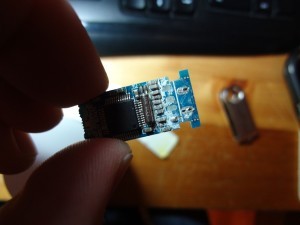
Upon inspection, I discovered that the pads had been completely lifted from the circuit board. This is bad news. This means that I cannot simply resolder the connector to the board. Instead, I need to perform some more delicate surgery. This is no longer a repair operation: it is a salvage.
By declaring it a salvage, the goal is simply to recover the files on the drive, by any means necessary. In this case, the logical way is to find others points on the board where I could join wires to the USB connector, so that it can be plugged in quickly to copy the files off it.
Preparation
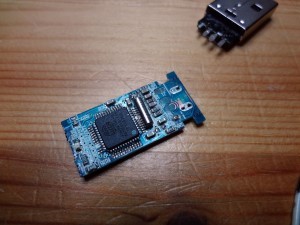
At first there was so much flux on the board that I could not locate the traces for the two USB data pins.
Using some isopropanol alcohol, I was able to clean it up and get a much better view.
I had two primary choices for where I could connect my wires: either directly on the microcontroller, or somewhere along the original trace. Soldering to the microcontroller was beyond my capabilities, as the tip of my iron is too large, and I do not have the required tools. Thus, I decided to solder to the traces.
In order for the solder to stick, I needed to remove the solder mask. Using some 600 grit sandpaper, I sanded off the mask, revealing the copper.
The Tricky Part
Those traces are tiny. Under 0.006″, possibly 0.004″. Soldering wires to them, while managing to not bridge two traces together, was going to be a challenge. And, taking about 45 minutes to get the 4 wires soldered, it was.
Notice the wires I’m using. They appear small, but in fact they are still much too large for this task. Ideally, I should be using something smaller, such as 30 gauge magnet wire. Unfortunately, I had to make do with what I had, though had this not worked I would have gladly sacrificed a speaker for the magnet wire.
Thankfully, I managed to get the wires soldered in place, but because of their size and strength, it was not possible to position them to align with the USB connection without pulling them (or the traces!) off the board.
After verifying one last time with a continuity tester that no wires were bridged or disconnected, I secured the wires in place using a hot glue gun. This allowed me to apply the force needed to bend the wires, to solder the connector.
Finally, once it was all secured and soldered, I plugged it in, greeted with a flashing red light and the “Found New Hardware” balloon on my monitor. Fingers crossed…
Great success! It showed up, and without delay the sensitive, irreplaceable files were copied safely to my computer.
Indeed, at over an hour and a half, this was a lengthy and stressful process. But, at the end of it all, I’m glad to know of the relief it brought my client.


